A stable internet connection is essential for almost everything we do today. Whether you are working, studying, or simply browsing, WiFi issues can be extremely frustrating.
If your WiFi is not working on Windows 10 or Windows 11, don’t worry. This guide will walk you through practical and proven solutions to fix the problem step by step.
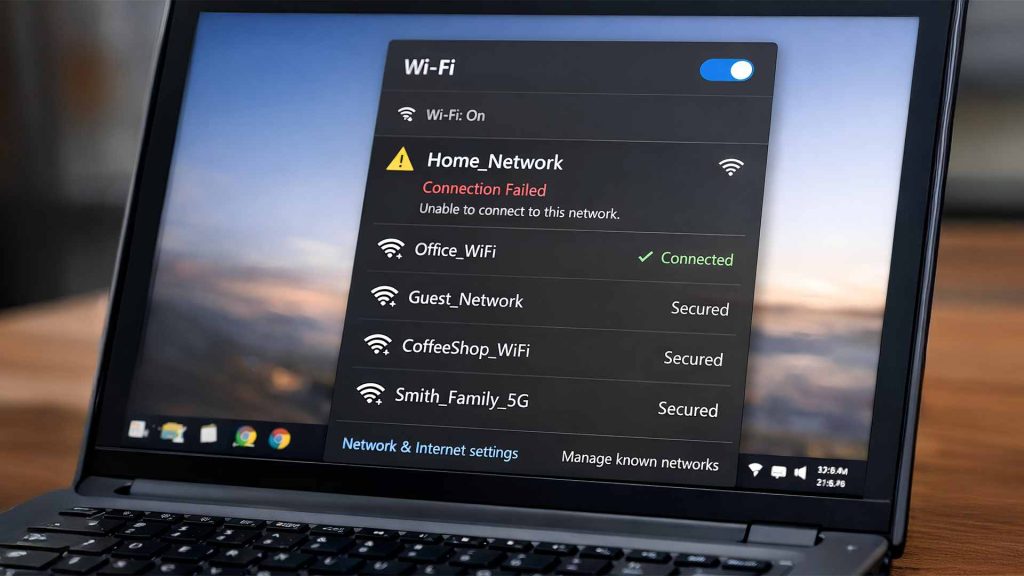
Common Signs of WiFi Problems
Before fixing the issue, it’s helpful to understand what you’re dealing with. Here are some common symptoms:
- WiFi is connected but no internet access
- WiFi network not showing up
- Frequent disconnections
- Slow or unstable connection
- “No Internet, Secured” message
If you’re experiencing any of these, follow the steps below.
Step 1: Restart Your Computer and Router
This may sound simple, but it works more often than you think.
- Restart your computer
- Turn off your WiFi router
- Wait for about 1–2 minutes
- Turn the router back on
Temporary glitches in your system or network can often be resolved with a simple restart.
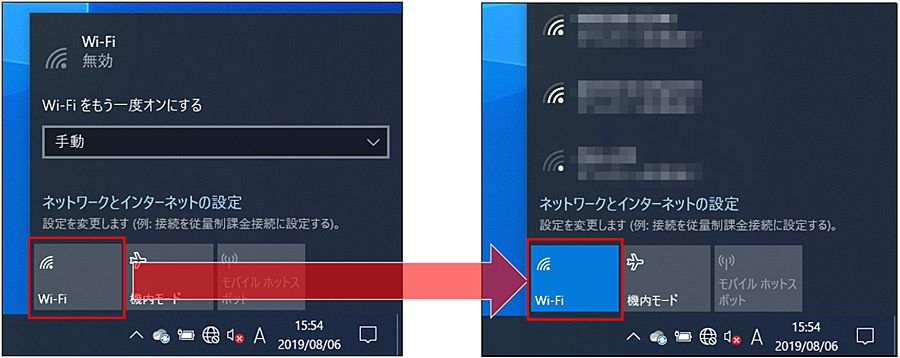
Step 2: Check WiFi Is Enabled
Sometimes WiFi is accidentally turned off.
On Windows:
- Click the network icon in the bottom right corner
- Make sure WiFi is turned ON
You can also press:
Windows + AThis opens Quick Settings where you can toggle WiFi.
Step 3: Run Windows Network Troubleshooter
Windows has a built-in tool to detect and fix network issues.
- Go to Settings
- Click Network & Internet
- Select Status
- Click Network Troubleshooter
Follow the on-screen instructions.
This tool can automatically fix common configuration problems.
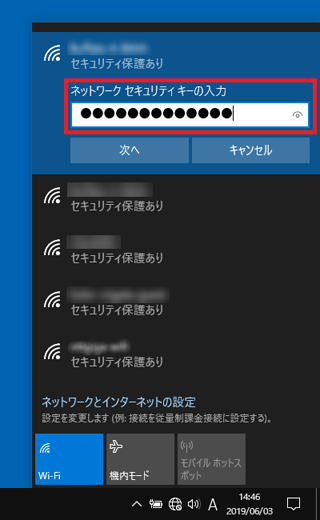
Step 4: Forget and Reconnect to WiFi
Sometimes saved network settings become corrupted.
To fix this:
- Go to Settings → Network & Internet → WiFi
- Click Manage known networks
- Select your WiFi network
- Click Forget
Then reconnect by entering your password again.
Step 5: Update Network Drivers
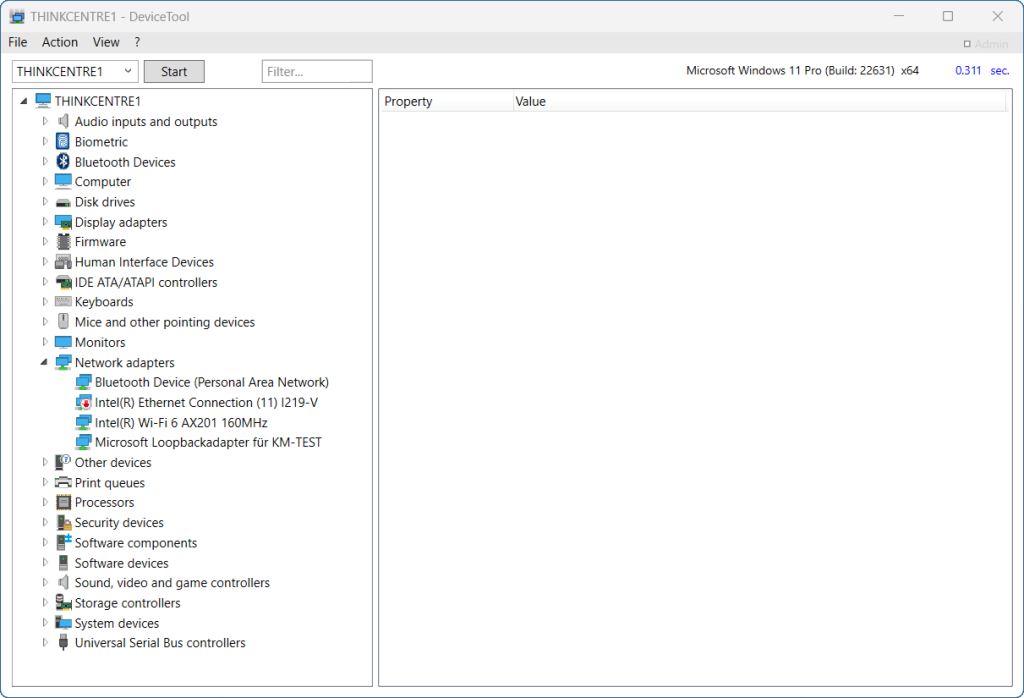
Outdated or corrupted drivers can cause WiFi problems.
Method 1: Device Manager
- Press:
Windows + X- Click Device Manager
- Expand Network adapters
- Right-click your WiFi adapter
- Select Update driver
Method 2: Reinstall Driver
If updating doesn’t help:
- Right-click the adapter
- Select Uninstall device
- Restart your computer
Windows will automatically reinstall the driver.
Step 6: Reset Network Settings
This step resets all network configurations.
- Go to Settings
- Click Network & Internet
- Scroll down and select Network reset
After resetting, your PC will restart.
Note: You will need to reconnect to WiFi networks again.
Step 7: Check Airplane Mode
Make sure Airplane Mode is turned off.
- Press:
Windows + A- Ensure Airplane Mode is disabled
This is a common but often overlooked issue.
Step 8: Check Router and Internet Connection
Sometimes the problem is not your computer.
Try:
- Connecting another device to the same WiFi
- Restarting your modem
- Checking with your internet provider
If other devices also have no internet, the issue is likely with your network.
Step 9: Change DNS Settings
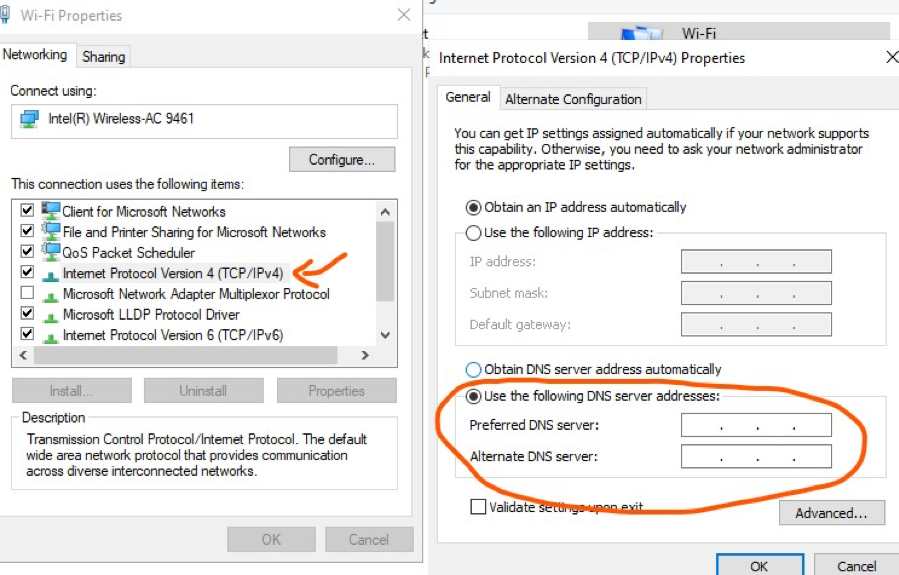
Incorrect DNS settings can affect internet access.
Use Google DNS:
- Go to Network settings
- Open adapter options
- Right-click WiFi → Properties
- Select Internet Protocol Version 4 (IPv4)
- Click Properties
Set:
Preferred DNS: 8.8.8.8
Alternate DNS: 8.8.4.4
Click OK to save.
Step 10: Disable VPN or Firewall (Temporarily)
Some VPNs or firewall software may block internet access.
Try:
- Turning off VPN
- Disabling third-party firewall
If WiFi works after this, the issue is likely related to those tools.
Additional Tips
- Keep Windows updated
- Avoid using unknown network tools
- Regularly restart your router
Conclusion
WiFi issues on Windows 10 and Windows 11 are common, but in most cases, they can be fixed quickly.
Start with simple solutions like restarting your devices, then move on to more advanced steps such as updating drivers or resetting network settings.
If the problem still persists, it may be related to your hardware or internet provider.
We hope this guide helped you fix your WiFi problem. For more tutorials and troubleshooting guides, stay tuned to LToss Tech Guide.