Python is one of the most popular programming languages in the world. It is widely used for web development, automation, data analysis, and AI.
In this guide, you will learn how to install Python on Windows 10 step by step. This tutorial is beginner-friendly and requires no prior experience.
Step 1: Download Python
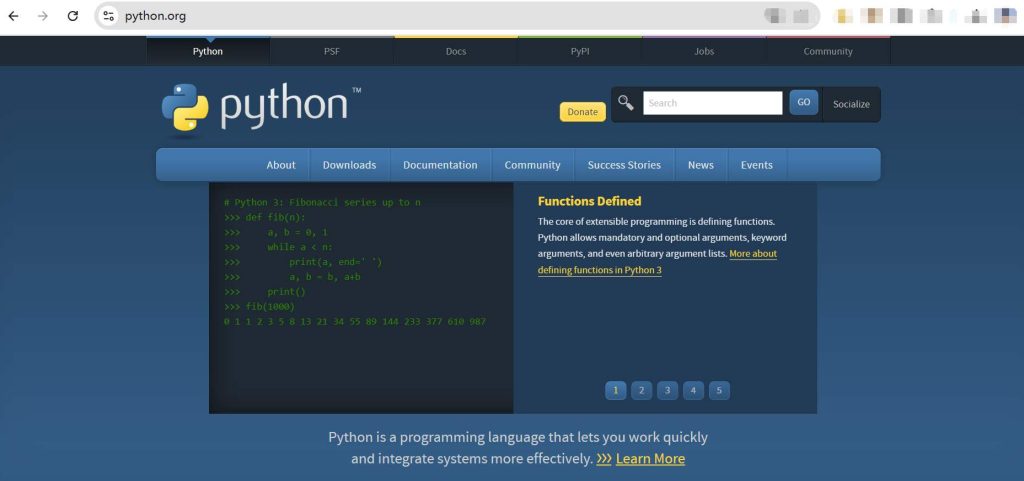
First, go to the official Python website:
https://www.python.org/downloads
Click the “Download Python” button. The website will automatically suggest the latest version for Windows.
Step 2: Run the Installer
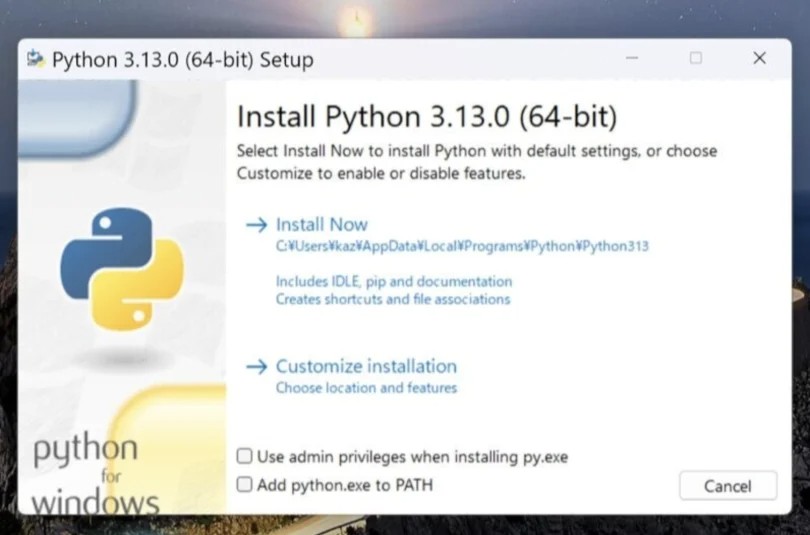
After downloading, open the installer file.
IMPORTANT: Before clicking install, make sure to check the box:
✔ Add Python to PATH
This step is very important. Without it, Python may not work properly from the command line.
Then click:
Install Now
Step 3: Wait for Installation
The installation process will take a few minutes.
Once completed, you should see a message saying:
“Setup was successful”
Click Close to finish.
Step 4: Verify Installation

Now let’s check if Python is installed correctly.
- Press Windows + R
- Type: cmd
- Press Enter
In the command prompt, type:
python --versionIf installed correctly, you will see something like:
Python 3.x.xStep 5: Test Python
You can also try running Python directly.
In the command prompt, type:
pythonIf you see something like this:
>>>That means Python is working.
You can type:
print("Hello, World!")Press Enter and it will display the message.
Common Issues and Fixes
Python is not recognized
If you see an error like:
“python is not recognized as an internal or external command”
This means Python was not added to PATH.
Solution:
Reinstall Python and make sure to check “Add Python to PATH”.
Conclusion
Installing Python on Windows 10 is simple and only takes a few minutes.
Once installed, you can start learning programming, automation, and even AI development.
If you found this guide helpful, feel free to explore more tutorials on LToss Tech Guide.